AC Coil Cleaning: DIY Steps Before Calling a Pro
Step-by-step guide to safely cleaning your AC coils in the GTA — what a Toronto homeowner can DIY, what tools to use, and when to call a licensed pro.
A dirty coil is the single most common reason an air conditioner runs hard, costs too much, and still leaves the upstairs warm on a humid July afternoon. The good news: most GTA homeowners can handle a basic outdoor coil rinse themselves with a garden hose, twenty minutes, and a little care. The catch: there’s a clear line between safe DIY maintenance and work that needs a licensed tech. This guide covers both.
We’ll walk through the tools, the safety steps, and the technique we use ourselves — and we’ll flag the points where it’s time to put the hose down and pick up the phone.
The short version: You can safely clean the outdoor condenser coil once a year with a garden hose, a soft brush, and a coil cleaner — as long as you cut the power first. The indoor evaporator coil is usually a job for a pro because of access, refrigerant lines, and the risk of bent fins. Pair this with a full summer maintenance checklist and a fresh filter from our furnace filter guide for the best results.
Why dirty coils cost you money
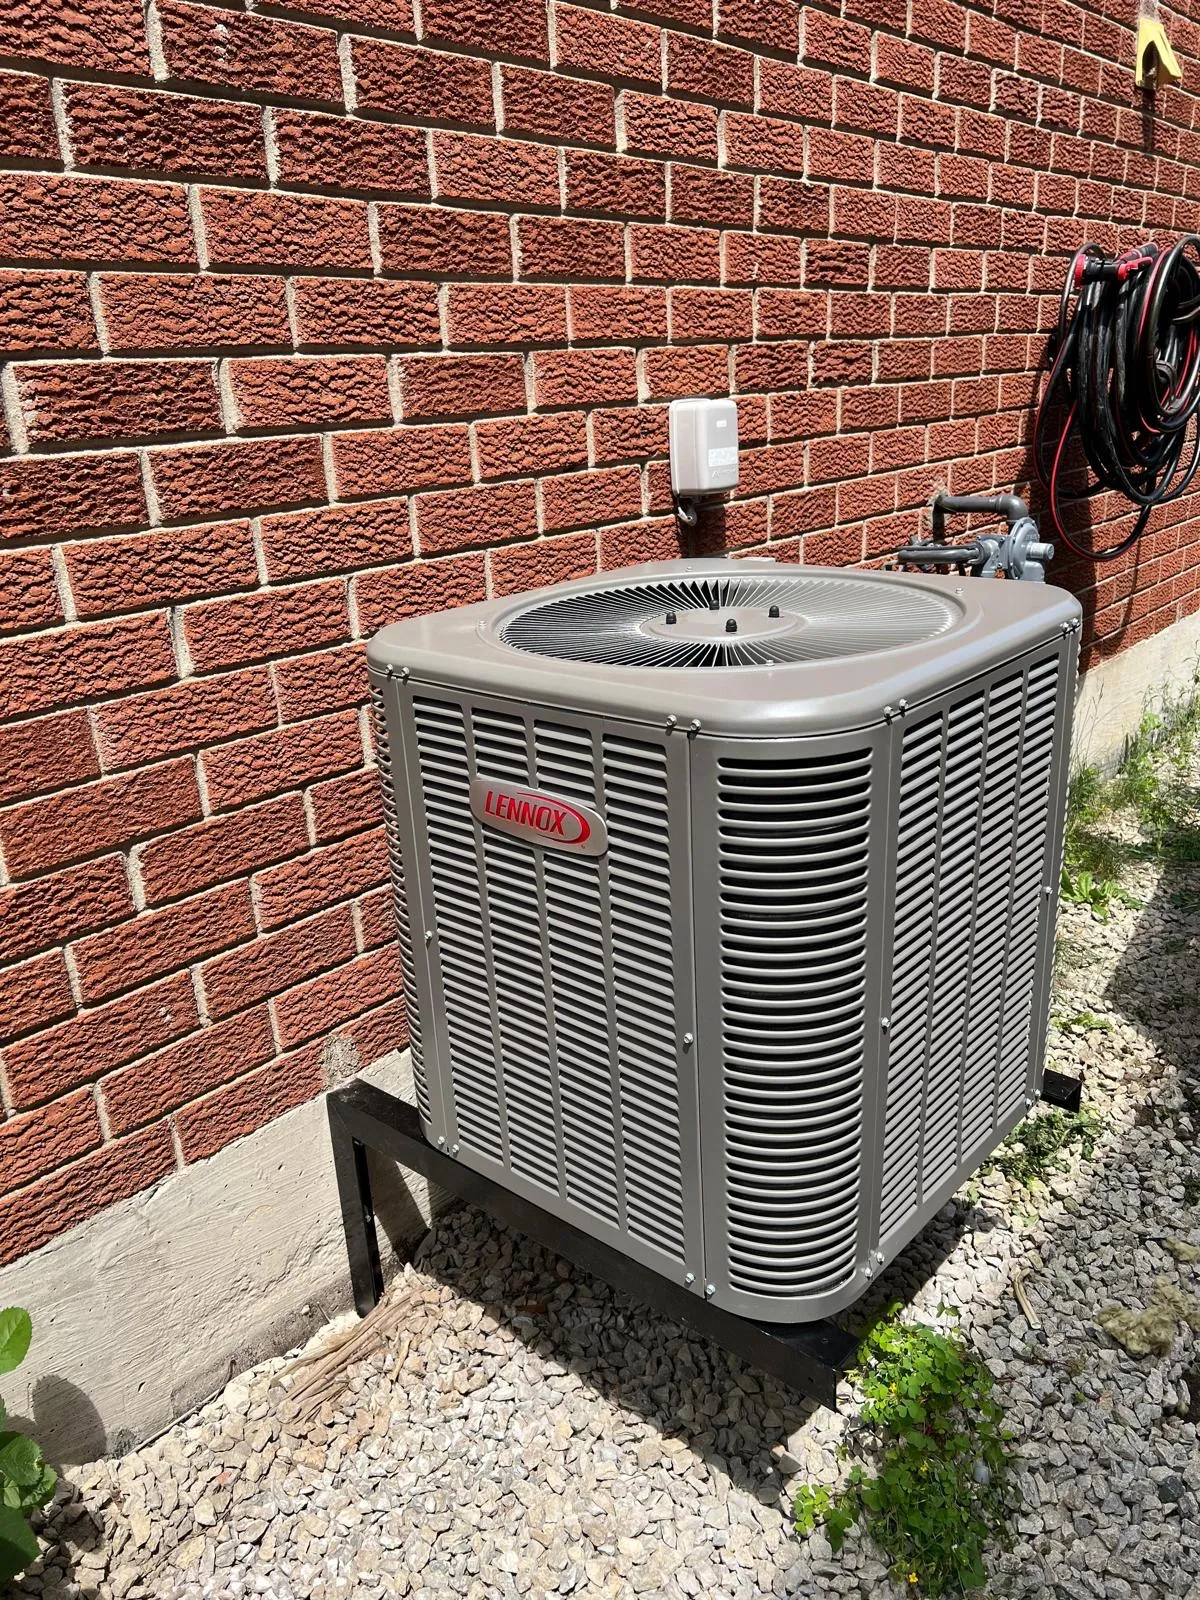
Your AC has two coils. The outdoor condenser coil dumps heat from your home into the outside air. The indoor evaporator coil, sitting on top of your furnace, absorbs heat from the air moving through your ducts. Both rely on thin aluminum fins to move heat quickly.
When those fins clog with cottonwood, grass clippings, pet hair, or fine GTA road dust, airflow drops. The system has to run longer to hit the same temperature, the compressor works harder, and your hydro bill creeps up. In extreme cases, restricted airflow over the evaporator can cause the coil to ice over and the compressor to overheat — which is how a $40 cleaning becomes a $2,000 repair.
Tools and supplies you’ll need
You don’t need much, and most of it is probably already in the garage.
- Garden hose with a gentle spray nozzle (no pressure washer)
- Soft-bristle brush or coil brush
- Foaming coil cleaner rated for outdoor condensers (any home centre carries it)
- A fin comb if any aluminum fins are bent
- Shop vacuum with a brush attachment
- Screwdriver or nut driver to remove the top grille
- Work gloves and safety glasses
A quick cost guide for what you’re likely to spend, as of 2026:
| Item | Typical CAD cost | Notes |
|---|---|---|
| Foaming coil cleaner (1 can) | $15–$25 | One can handles most residential units |
| Fin straightening comb | $10–$20 | Reusable, fits multiple fin spacings |
| Nylon coil brush | $15–$30 | Softer than a deck brush — important |
| Spray nozzle for hose | $10–$25 | Use the “shower” setting, not “jet” |
| Professional AC tune-up | $150–$250 | Includes coil clean, charge check, capacitor test |
Safety first: cut the power
This step is non-negotiable. The condenser runs on 240V, and the fan blade on top will start the moment the thermostat calls for cooling. Water plus live electrical contacts is exactly the situation you want to avoid.
Power off the unit before you touch it. Switch the AC off at the thermostat, then open the grey weatherproof disconnect box on the wall beside the condenser and pull the disconnect. If you don’t have an outdoor disconnect, flip the dedicated AC breaker inside your panel. Wait five minutes for the capacitor to bleed down before removing any panels.
Don’t skip the disconnect step even if the thermostat is off — a stuck relay or someone bumping the thermostat is all it takes.
Step-by-step: cleaning the outdoor condenser coil
This is the part of the job that gives you the biggest efficiency win for the least effort.
- Clear a metre of space. Pull weeds, trim back hostas and cedars, and rake leaves away from the unit. Airflow needs to enter from all sides.
- Vacuum the outside of the fins. Use the brush attachment on a shop vac to lift off cottonwood, pet hair, and dryer lint. Move with the fins, never across them.
- Remove the top grille. Most units have four to six screws. Lift the fan straight up — it’s still wired, so rest it gently on the lawn beside the unit. Don’t yank the wires.
- Vacuum and pick out interior debris. Leaves, twigs, and the occasional mouse nest love the bottom of a condenser. Scoop them out by hand.
- Apply foaming coil cleaner. Spray the inside surface of the coil evenly. The foam expands, lifts grime, and drips out the bottom. Let it dwell for the time on the can — usually 5–10 minutes.
- Rinse from the inside out. This pushes debris back the way it came in. Use a gentle stream, top to bottom, all the way around.
- Straighten any bent fins with a fin comb. Bent fins block airflow as effectively as dirt.
- Reassemble, restore power, and test. Reinstall the grille, push in the disconnect, switch the thermostat to cool, and confirm the fan spins freely and the air leaving the top is warm — that means heat is moving out of your home.
Common mistakes to avoid
- Using a pressure washer or jet nozzle (flattens fins instantly)
- Spraying degreaser, oven cleaner, or bleach on the coil (corrodes aluminum)
- Skipping the disconnect “because the thermostat is off”
- Forgetting to clear shrubs back to at least 60 cm on all sides
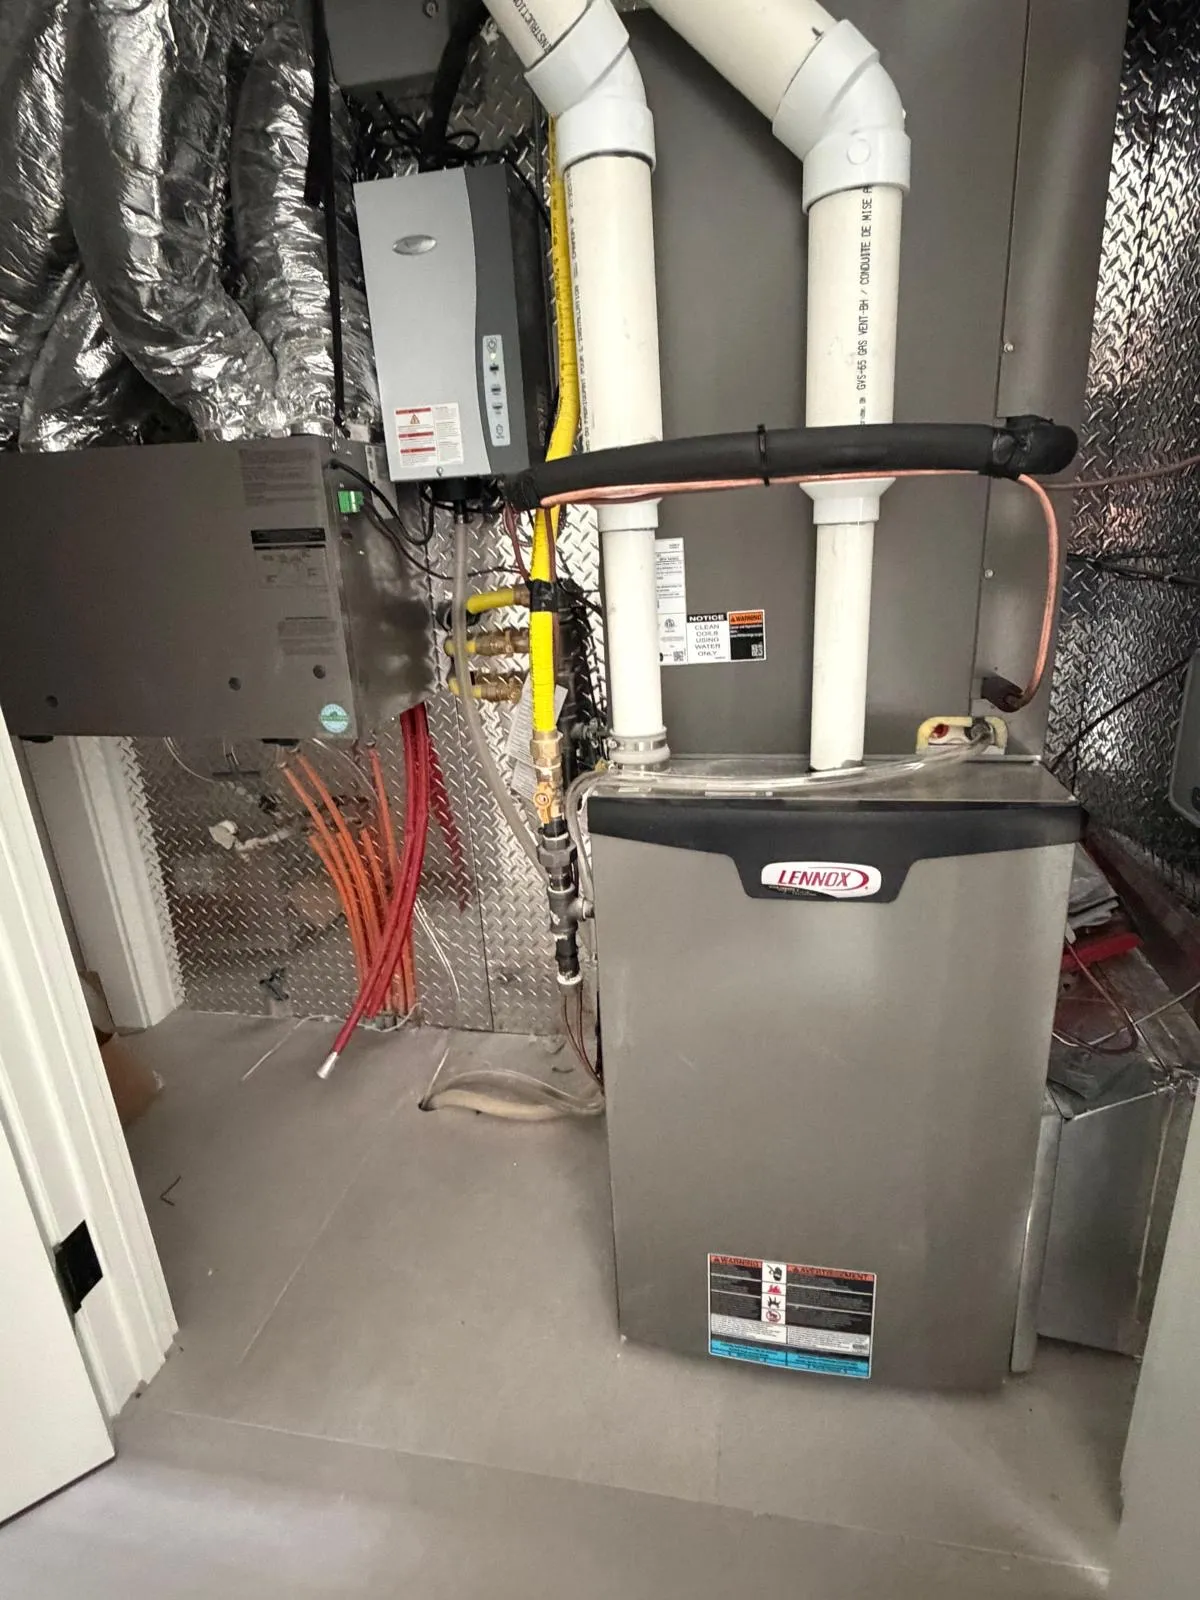
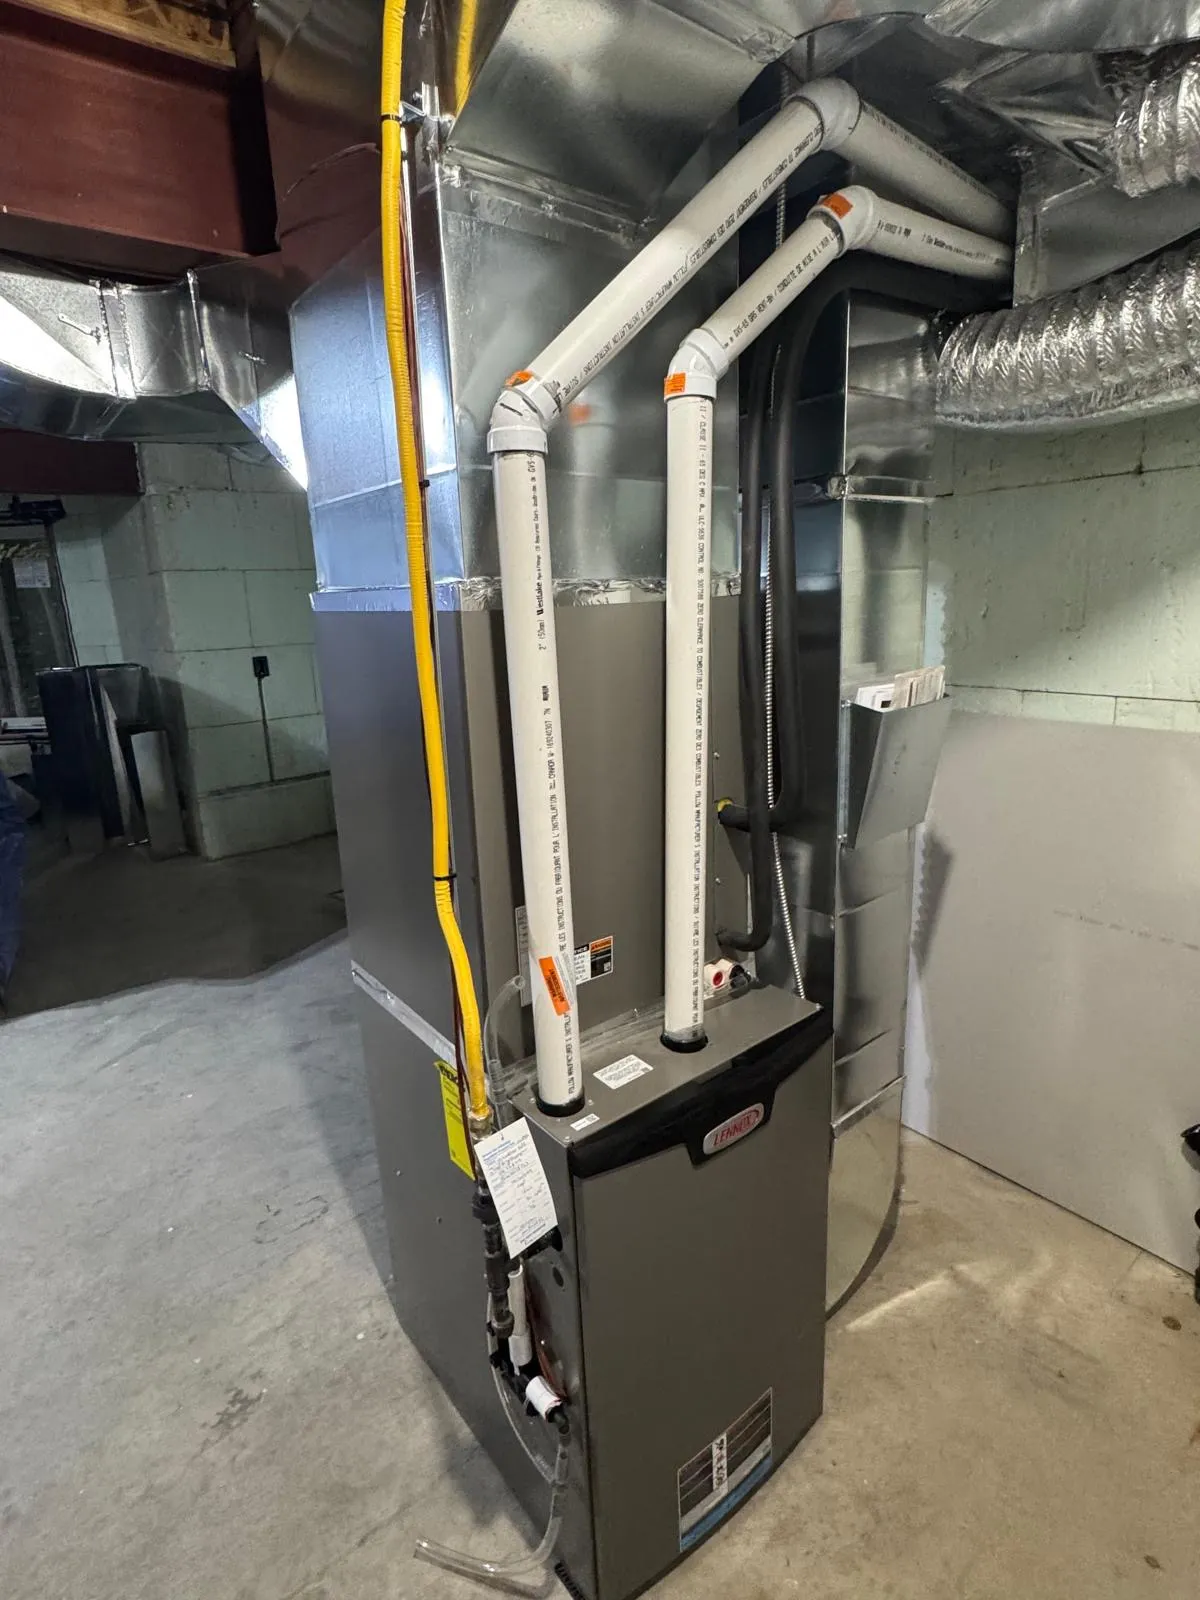
What about the indoor evaporator coil?
The evaporator sits inside the plenum on top of your furnace or air handler. In most GTA installs, it’s behind a sealed access panel, and getting to it means cutting tape, lifting the coil out, and re-sealing afterwards. The fins are also more fragile, and refrigerant lines run right through the assembly.
For homeowners, we recommend two things:
- Keep the filter fresh. A clean MERV 8–11 filter is the single best protection for the evaporator coil. Our furnace filter replacement guide covers sizing and changeout intervals for Ontario homes.
- Have it professionally cleaned every 2–3 years, or sooner if you’ve been running without a filter, finished a renovation, or have heavy pet dander.
A proper evaporator cleaning is part of any full air conditioning tune-up, and it’s a job worth paying for. The coil pan and condensate trap get inspected at the same time, which prevents the slow water leaks that warp drywall and rust out furnaces.
When DIY isn’t enough
Some red flags mean the issue isn’t just dirt.
- Ice on the copper lines even after the coil is clean — usually low refrigerant or a stuck blower
- A humming condenser that won’t start — typically a failed capacitor or contactor
- A burning or musty smell from the supply vents — could be mould on the evaporator or bad wiring
- Heavy interior dust film on every surface — your duct system likely needs attention, see our duct cleaning service
- System more than 12–15 years old and struggling — coil cleaning won’t save a tired compressor
Refrigerant work is regulated in Ontario and requires a licensed technician. If gauges need to come out, it’s not a DIY job.
A simple yearly schedule for GTA homeowners
| Month | Task | DIY or Pro? |
|---|---|---|
| April | Replace filter, clear debris around condenser | DIY |
| May | Rinse outdoor coil, straighten fins | DIY |
| Late May | Book annual AC tune-up | Pro |
| July | Mid-summer filter check, hose rinse if dusty | DIY |
| September | Cover condenser top only (never wrap fully) | DIY |
| Every 2–3 years | Evaporator coil deep clean | Pro |
Stick to this rhythm and your system should hit its rated efficiency every summer.
When to call Delson Air
If your coils look rough, your AC is short cycling, or you’d rather skip the ladder and the wet shoes, that’s what we’re here for. Delson Air is a TSSA-licensed and fully insured HVAC contractor serving Toronto, Mississauga, Markham, Vaughan, Brampton, Richmond Hill, Oakville and the rest of the GTA. We’re also an Enbridge Authorized Contractor, so any rebate-eligible work gets handled cleanly.
Book an annual tune-up, a one-time coil cleaning, or a full system inspection by calling (647) 467-9919 or reaching out through our contact page. You can also browse the rest of our services to see how we keep GTA homes comfortable year round.
FAQ
Common questions
How often should I clean my AC coils in the GTA?
Can I use a pressure washer on the outdoor coil?
What are the signs my AC coils are dirty?
Is coil cleaning included in a regular AC tune-up?
Delson Air Team
Licensed, insured, TSSA-certified HVAC technicians serving the Greater Toronto Area.
Keep reading
More from the Journal
HVAC Maintenance Plans: What's Included in 2026
What an HVAC maintenance plan actually covers in 2026 — priority dispatch, repair discounts, waived diagnostic fees, and tune-ups for GTA homeowners.

Fall HVAC Maintenance Checklist for Ontario Homes
A complete fall HVAC maintenance checklist for GTA and Ontario homeowners — furnace prep, filters, humidifier, thermostat, ducts, and when to call a pro.
Furnace Tune-Up in Toronto: Why Early Fall Is the Best Time
Why early fall is the smartest window to book a furnace tune-up in Toronto and the GTA — what's included, what it costs, and what to expect.